From permanent magnet to electric motor
...explore: the electric motor
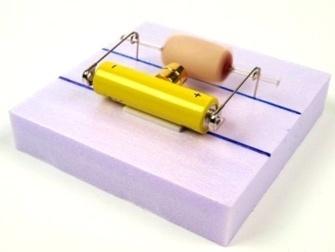
In the previous sequence, the compass needle shows it very nicely: If you attract the needle in the correct rhythm with help of a spool and then release it, the needle begins to rotate at a substantial rate. The electric motor works in the same way, only that everything goes much more quickly.
1

Construct an electric motor
You need a permanent magnet (2 ring magnets) and an electromagnet (spool) with a rotating axis (bronze pin), which turns itself on and off in the correct rhythm (circuit breaker). Of course, it doesn't work without electricity. That's why you also need a voltage source (battery).
2
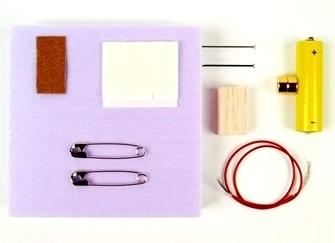
Materials
Foam plate
Voltage source (with 2 magnets at its poles)
2 ring magnets
30 cm insulated wire, 2 safety-pins
2 bronze pins (axles). One pin has a line of ink, which interrupts the electric current)
a piece of balsa wood for the spool core
double sided tape
3
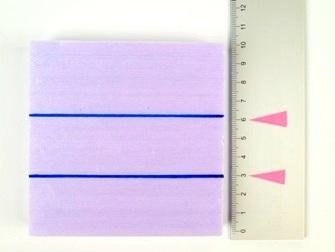
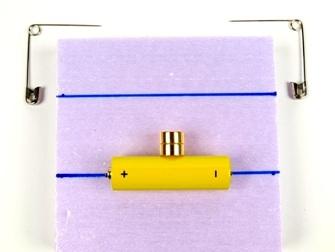
Draw two parallel lines 3 cm apart on the foam plate. These lines serve to orient the assembly of the electric motor.
4
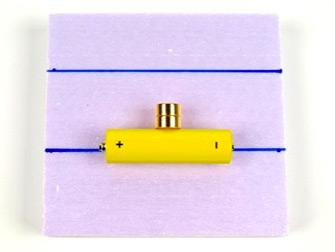
Attach the voltage source (with its magnets at its poles) at the middle of the bottom line using double sided tape.
Attach both ring magnets orthogonally on the battery.
5
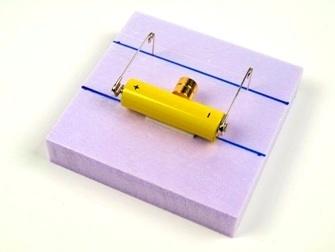
Spread out both safety pins to right angles. The corners of the foam plate can be used as references for the right angles.
6
Insert the spread out safety pins orthogonally into the foam along the upper line.
The separation of the safety pins corresponds to the width of the battery.
7
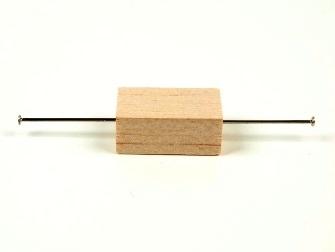
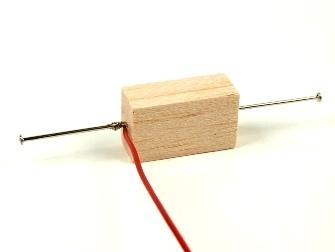
Insert the two bronze pins orthogonally 1 cm into the middle of the sides of the balsa spool core.
Warning: The bronze pins may not touch each other.
8
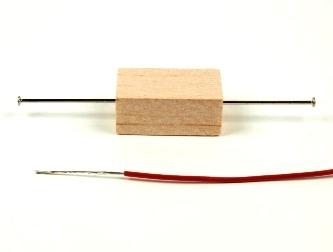
It is important that both bronze pins form a line. This perpendicular orientation and position must be absolutely retained up to the end.
Braid the uninsulated ends of the wires into compact threads.
9
Wrap one end of the wire tightly around the first bronze pin.
Choose the bronze pin with the black ink line first. This pin is the "circuit breaker", as the ink line does not conduct electricity.
10
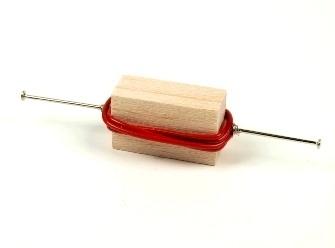
The wire is wrapped around the spool core along the middle, close to the pins and always in the same wrapping direction.
Wrap the second wire-end tightly around the second bronze pin. The spool is now finished.
11
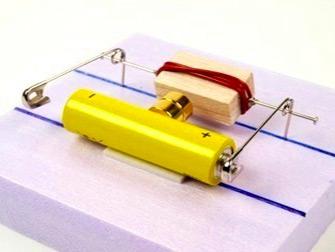
No electricity should flow before installing the spool. Contact to the voltage source is interrupted by separating one of the safety pins from the battery (a form of switch).
Carefully place the spool into the loops of the safety pins.
12
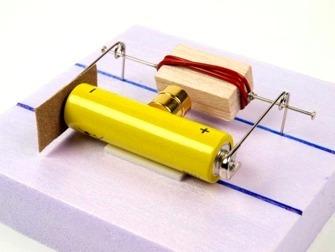
In order to prevent an unintentional closing of the "switch", use a piece of paper or sandpaper in between the safety pin and the voltage source.
Straighten all components once more.

13
Establish the contact between the safety pin and the voltage source. Lightly spin the spool with your hand - and the motor already runs!
So? Everything working well?

Experiments with the electric motor
Find out how many possibilities there are to change the direction of rotation of the spool.
Find out how you can make the electric motor even stronger.
| Views | |
|---|---|
| 43 | Total Views |
| 43 | Members Views |
| 0 | Public Views |
Share by mail
Please login to share this webpage by email.